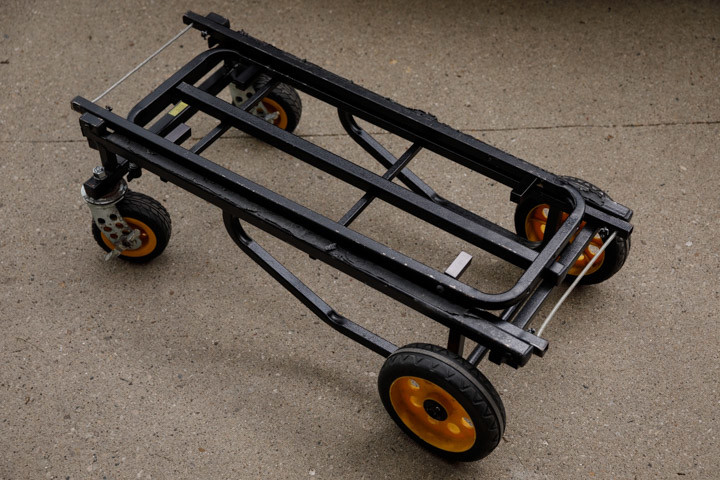
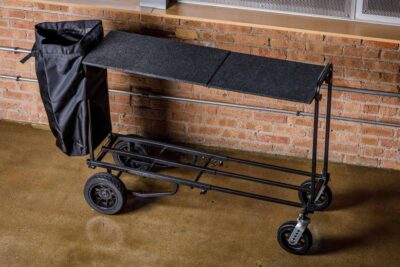
Modifying a RocknRoller MultiCart R8 so the top shelf, Quick Set Shelf, assembles with ease in seconds rather than minutes when you get to your photoshoot.
If you’ve ever used a RocknRoller MultiCart, then you know how functional they are. Not only will they help you move all of your gear on location, they will fold up nicely and fit into the back of your car, unlike some of their competitors. I have had my R8 for about five years and I love it.
But if you’ve ever used their top shelf, then you have found nothing but frustration and disappointment. How could a company that designed such a beautifully functional cart fail so badly when it comes to this accessory? As some sort of sick joke, they have the audacity to call it a “quick set shelf.” When in reality, it’s assembly is nothing but quick. You have to balance the shelf on your knee, or get help from a friend, as you side mount the four bolts and wing nuts that anchor the shelf’s C channels to the top of the cart. There has to be an easier way, because the worst thing is arriving at your job with no time to spare and having to fuss with the cart in the parking lot—or doing so in the rain.
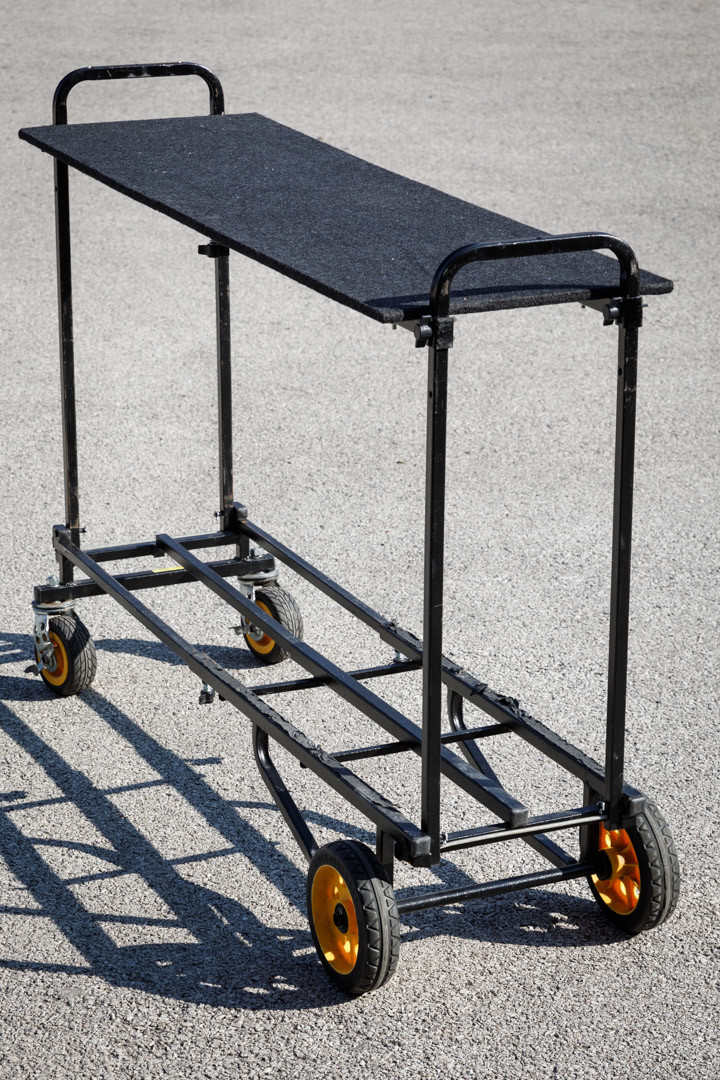
The shelves make for a great tabletop, and they help you stack more gear even higher. In addition, if you start adding things to the cart handles, like heavy extension cords and a stand bag full of C stands, then your top shelf will help stabilize your weight and relieve stress off of the attachment points for the base of handles.
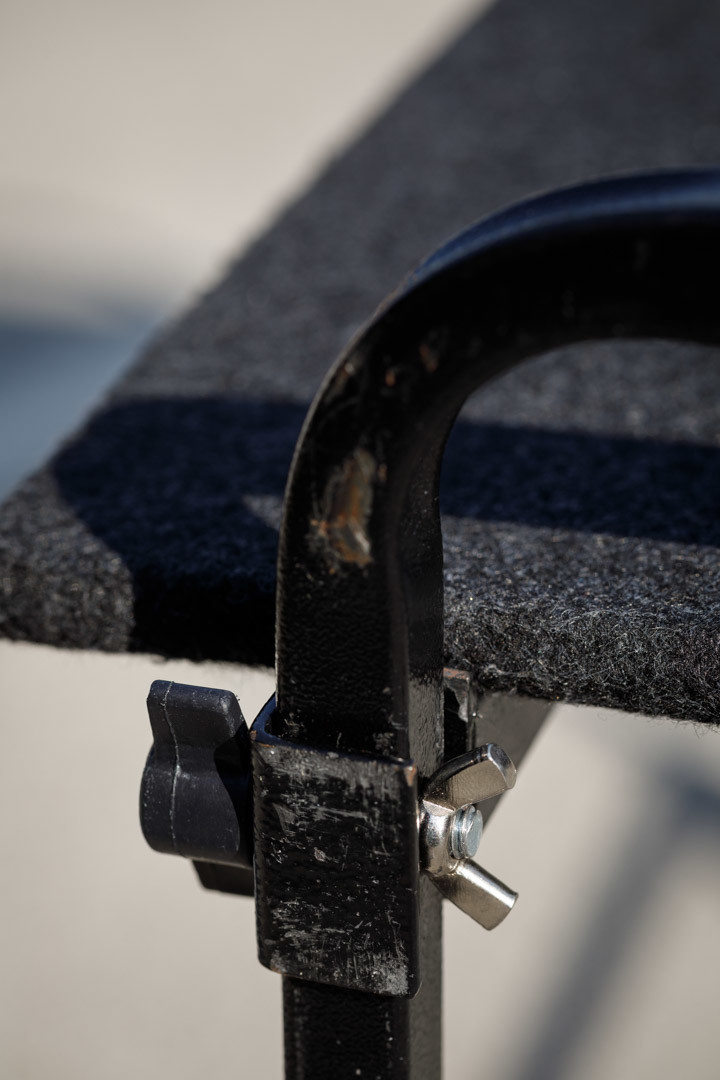
I recently came across a blog post in which the author talks about retrofitting his cart so you can attach the shelf in seconds rather than minutes. He took his cart to a metal fabricator and had them cut off the C channels, then rotate them 90 degrees so that they point downward, and finally, he had them weld crossbars onto the cart—on which the downward Cs could rest. I don’t know about you, but that sounds entirely extra (unnecessary) to me. If you ever wanted a new cart because the old one was worn out or you needed a bigger one, you would have to return to this mythical metal fabricator and have them do it all over again. In addition, what is that going to cost? I, for one, like to do things myself because at the end of the day, I have the time and I get insecure asking real men to do things for me.
The following step-by-step guide will help you do this all by yourself without the need for a saw, a blow torch, or any third-degree burns. Plus, if you upgrade your cart in the future, it will just take mintues to modify the new one. All you need is $60, about three hours of time, a drill, drill bits, a tape measure, safety glasses, some tape, a staple gun, a pair of pliers, needle nose pliers, diagonal cut pliers, a hammer, a 3/16″ hex key, and a utility knife.
What you need to buy
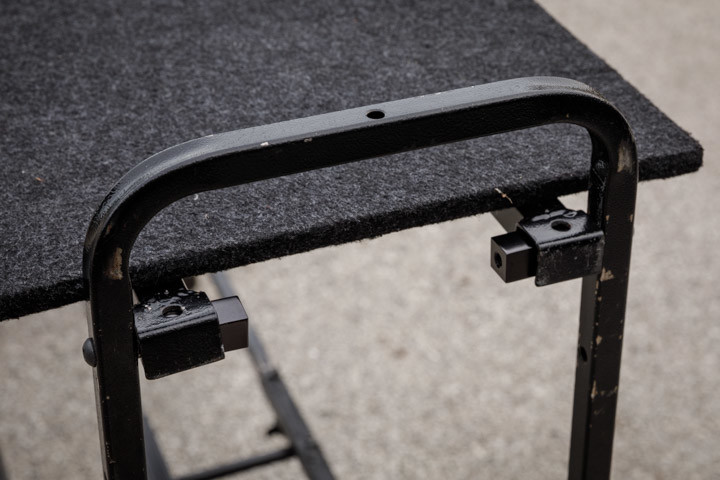
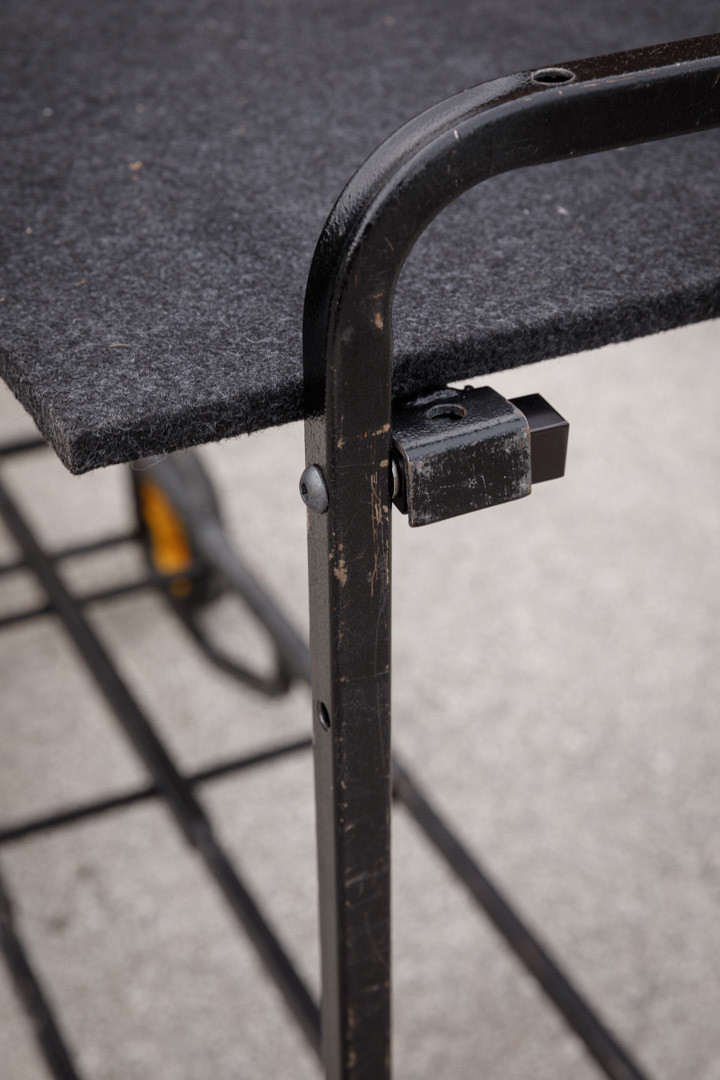
The most important things you need to buy are four square aluminum standoffs (You need two two-packs, Standoff, Sq, AL, 5/16-18, 3/4 x2, PK2, Manufacturer #: ZA0352-ALBLK) which is where your shelf will rest on the cart. I didn’t even know what these even were until I googled 5/16″-18 3/4″ square tube. This is the thread size of the bolt that comes with the cart, matching the hole already drilled in the handle, and the size of the cart’s frame. Although expensive, these are solid aluminum and black. I ordered mine online and I doubt you’ll be able to source them anywhere locally.
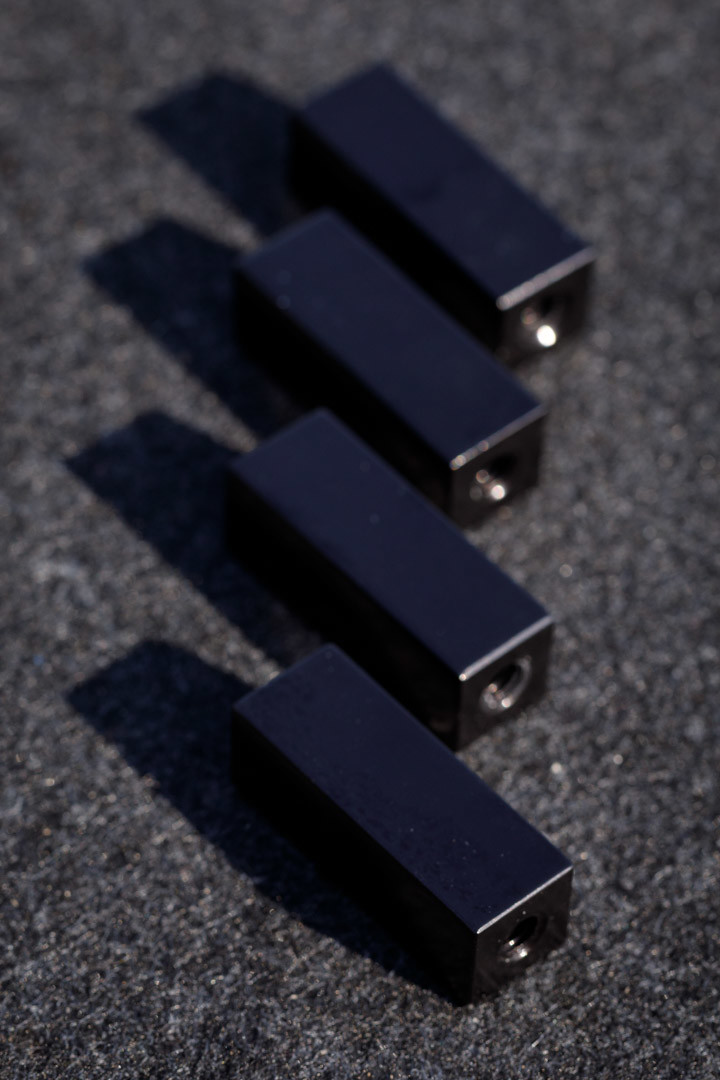
Originally, I thought I would use the bolts that came with the cart, because you can tighten them without tools, but then I realized that leaving them attached would prevent the cart from folding up. So I bought four 5/16″ x 1 1/2″ steel button head socket cap screws.
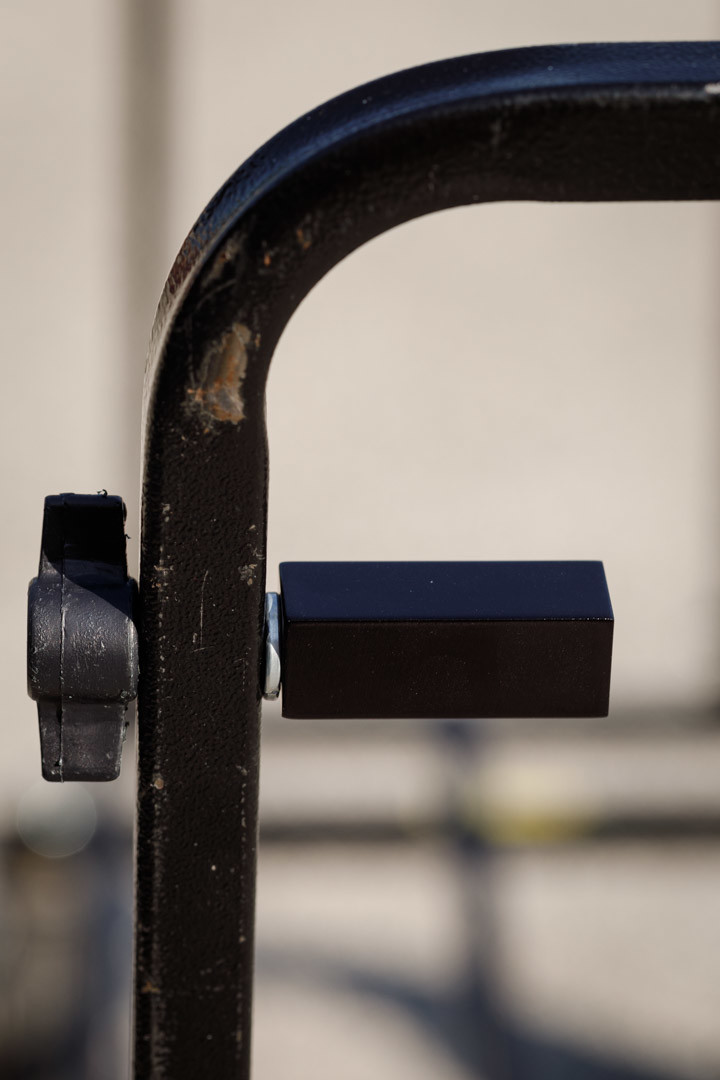
Four 5/16″ stainless steel lock washers to hold the standoffs in place
Two 3/8-16×1″ zinc thumb screws to replace the wing bolts on the rails which were too big to spin after rotating the rails 90 degrees.
Step One
Put on the safety glasses.
Step Two
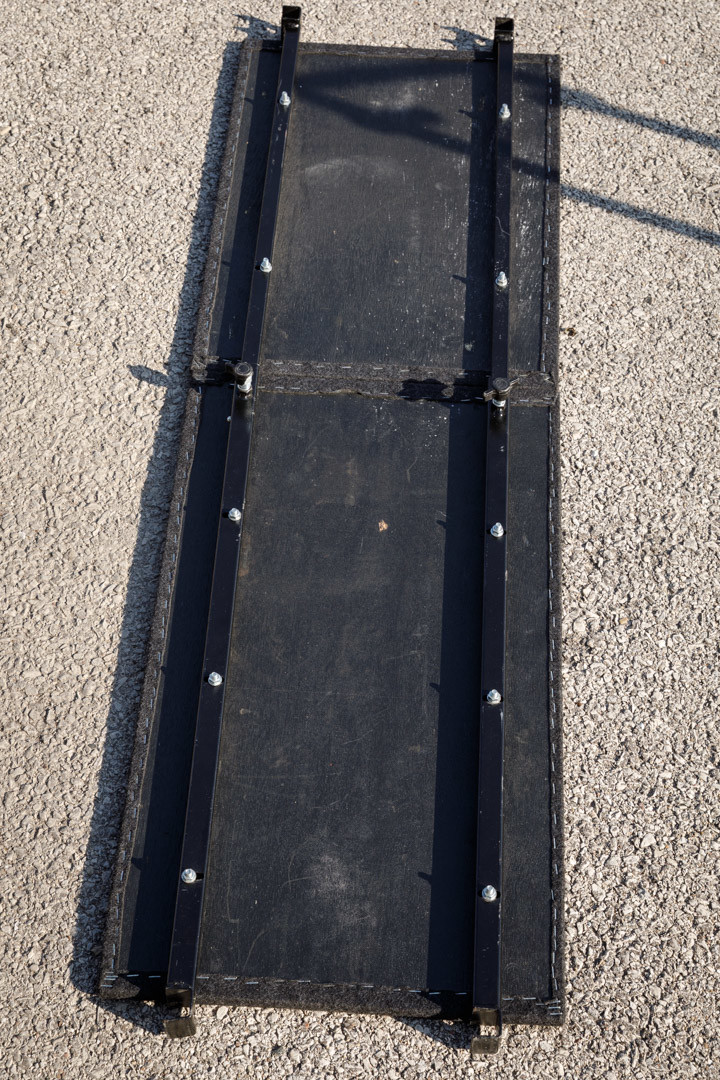
On the bottom side of the top shelf sections there are two square metal tubes that are attached with 10 bolts. Loosen those bolts with a pair of pliers and unscrew them. Set aside the bolts and washers to use when you reassemble the shelf.
Step Three
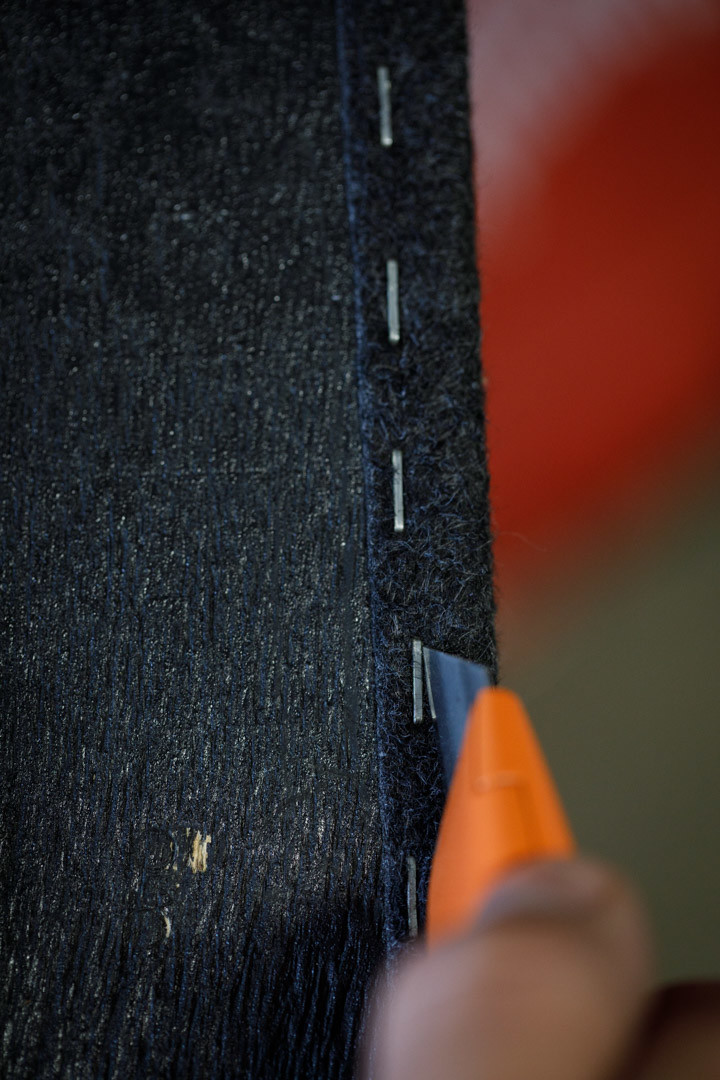
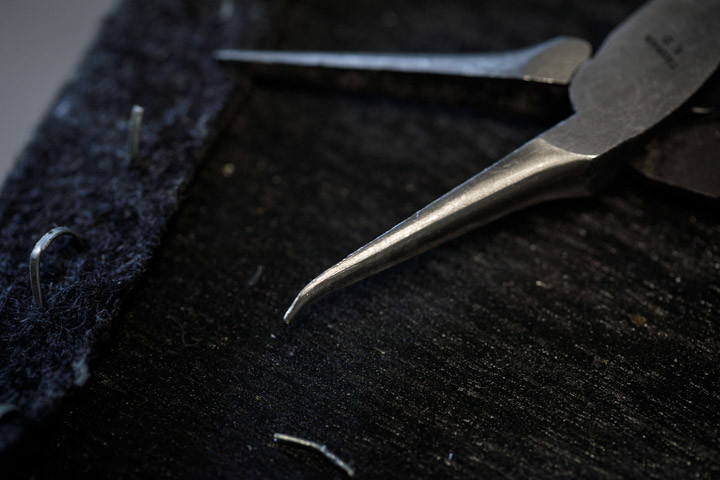
With the shelf still turned upside down take the utility knife and cut the carpeting as close as you can to the outer edge of the staples on three sides of each panel. You need to preserve as much carpeting as you can because you will need to staple it back on later. Originally, I tried removing the staples with a pair of needle nose pliers, but they are in there really good, and all I ended up doing was bending the pliers and frustrating myself. I did remove some of the staples, but it took forever! I still suggest using this method on the corners, cutting the staples in half with the diagonal cut pliers if need be, because you need to preserve the carpet in this area, but otherwise I would just use the knife.
Step Four
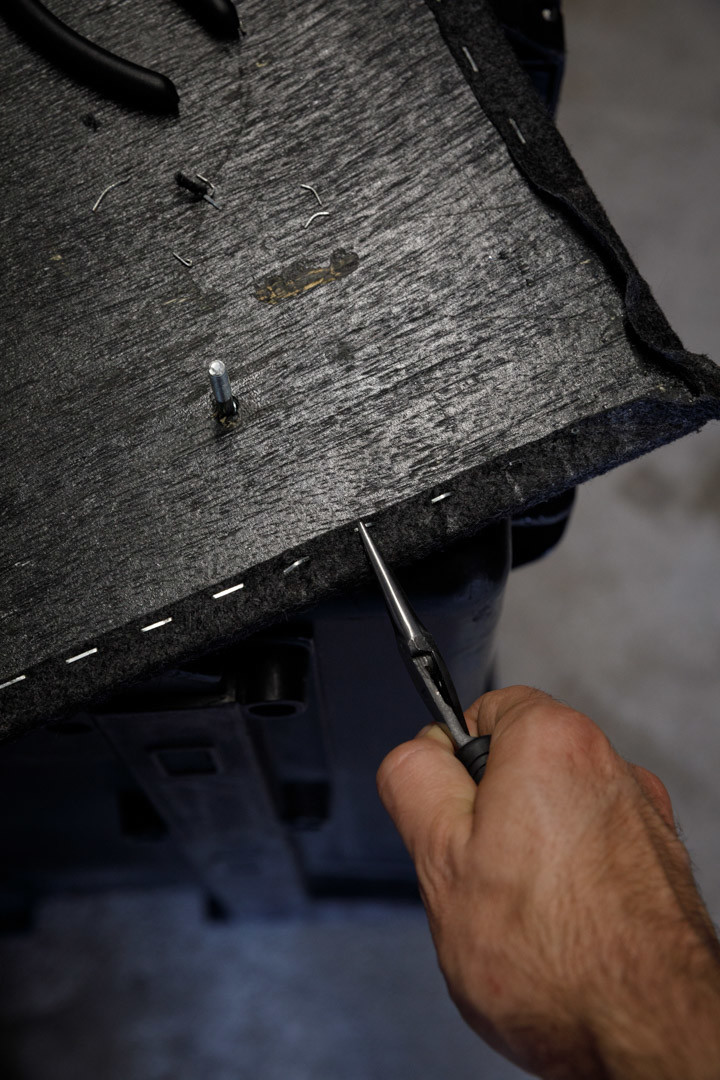
In order to rotate the C channels 90 degrees, you need to drill new mounting holes. Using a small black oxide drill bit, drill pilot holes in the rails perpendicular to the ones that already exist. Next with a 1/4″ black oxide bit, drill the real holes all the way through. Place some kind of material underneath so that you don’t drill into something nice, like your floor.
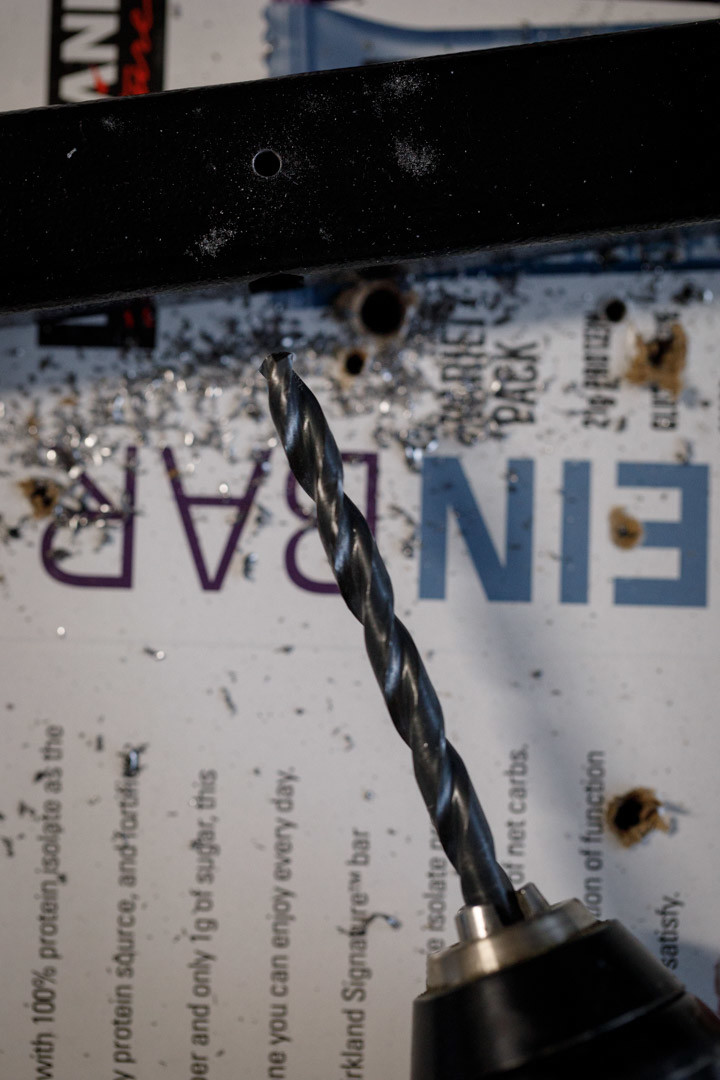
Step Five
Peel off the carpet, turn the shelf over and remove the bolts. Now flip it back over onto its top and position the rails, C facing upwards, so that they are inset about 3 inches on each side. We’re doing this so that the total width of the two C channels and the gap in between is just under 9.5 inches. This is so that your assembled shelf will slide between the handles on the cart. I made mine pretty snug and it takes a little bit of leverage to get them in there, which may or may not be a good thing. If you make yours too loose, I think the shelf will bounce around too much. If you use the holes that already exist in the shelf, it will be too wide to fit between the handles.
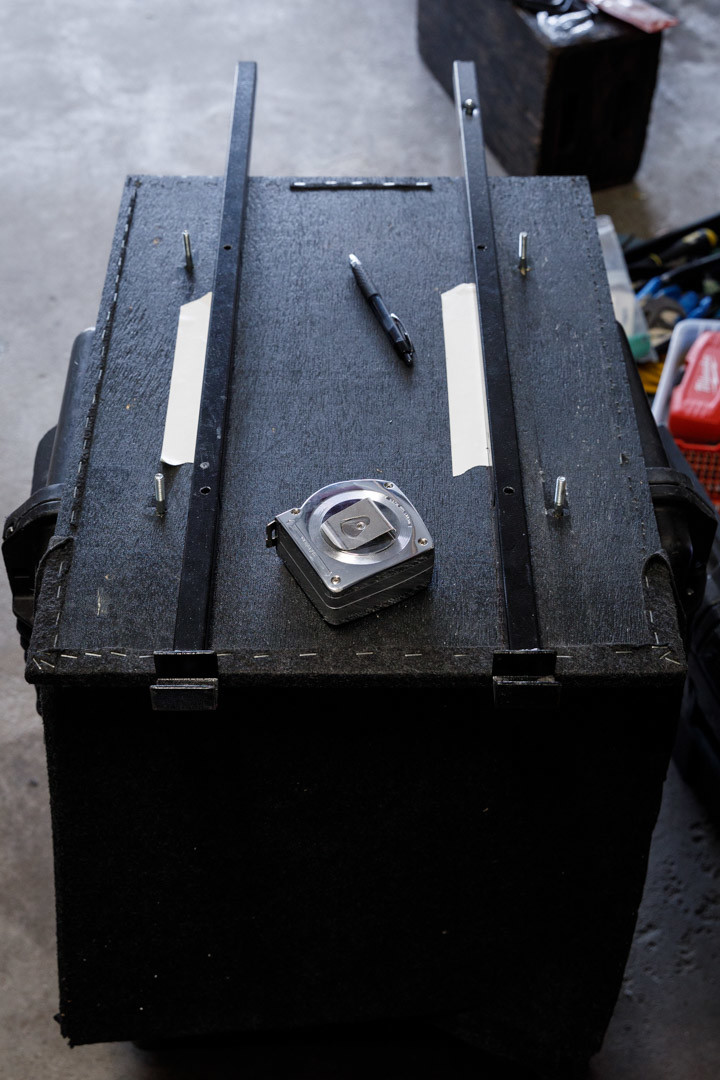
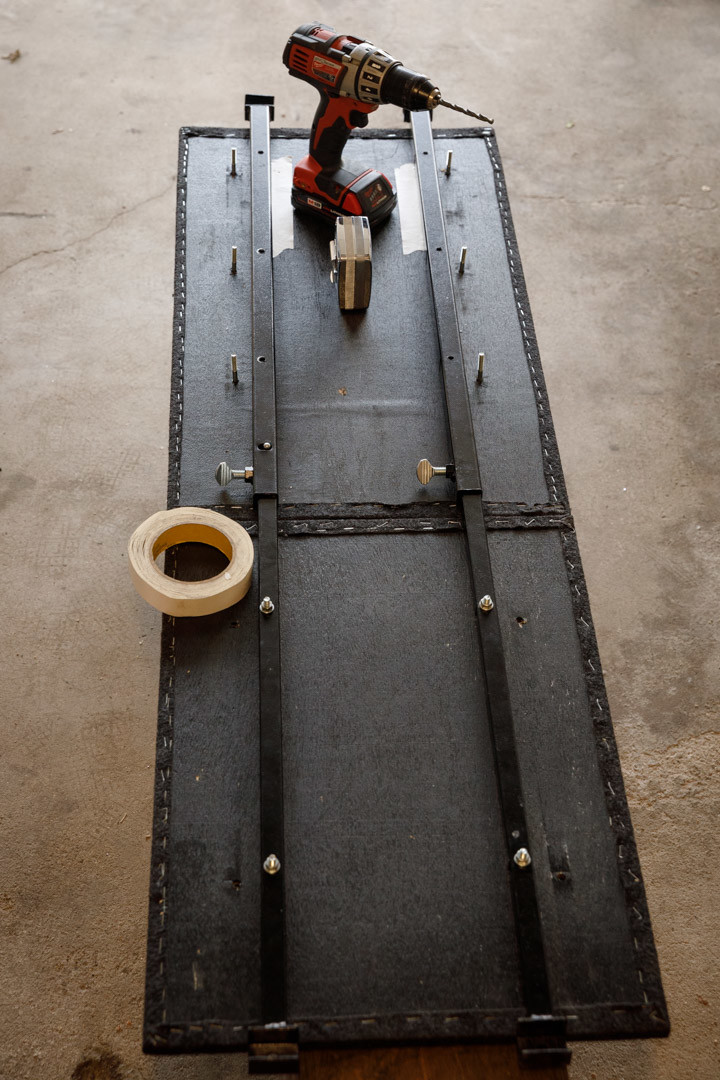
Once you’re satisfied that you have the rails positioned squarely and at the right distance, drill a hole with a 1/4′ bit through the holes at the end of each rail. I drilled all four holes in the short section of the shelf first, the lined up the longer side, but I think you’ll be better off if you drill the two holes at each end of the shelf sections. This is where I used white masking tape to mark where the edges of the rail needed to be, so that I would have immediate visual reference to make sure that I was attaching the rail squarely. After drilling the four holes through the top shelf, use the bolts and a nut to anchor the rails to the shelf. When I drilled the holes into the shelf the rails wouldn’t jump around as my drill bit passed through the holes, so I think it would be best to have these anchors at each end before drilling the middle six holes. This way everything will lineup perfectly.
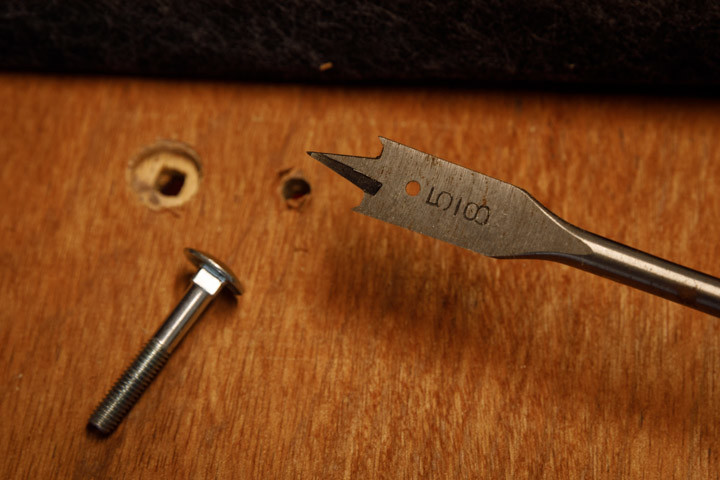
Once I had all 10 holes drilled, I removed the rails, and I flipped the shelf over. Now with a 5/8″ drill bit I drilled countersink holes in the top side of the shelf, so that the bolts would be recessed and the surface would be flat. I did so, slowly matching my countersink holes to the depth of the manufacturer’s countersink holes. You will notice that the right depth is when you drill through the first layer of the plywood. Then I placed the bolts in the holes and used the hammer to punch them in the rest of the way.
Step Six
Flip the shelf sections over so that it is top side up and put the carpet back in place. Now flip it over and line up the edges of the carpet to the edges you cut off. Use the staple gun and reattach the carpet to the shelf. After you’re done, take the hammer and knock down all of the staples so that they are flush with the shelf.
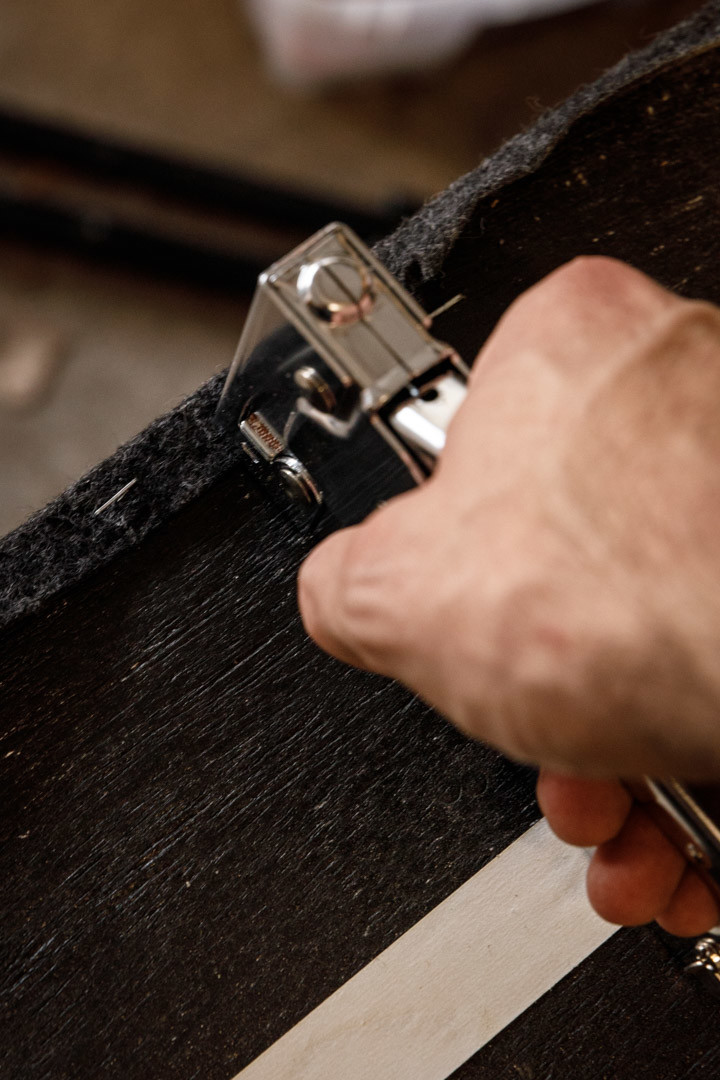
Step Seven
Replace the wing bolts on the rails with the thumbscrews and place the rails onto the shelf’s bolts using the new rail holes and secure them using a washer and then a nut. Tighten it first with your fingers and then finish it up with the pliers until it is firm. You could use a socket wrench, but I am a heathen.
The shelf and cart can be configured in both a 32-inch length and a full 50-inch length. The thumbscrews hold together the two sections of the top shelf, and when loosened, you just slide out the short half and slide in two accessory C channel ends that come with the shelf. These additional ends will not need to be modified in any way. You just need to slide them in in the correct position with the C facing downward.
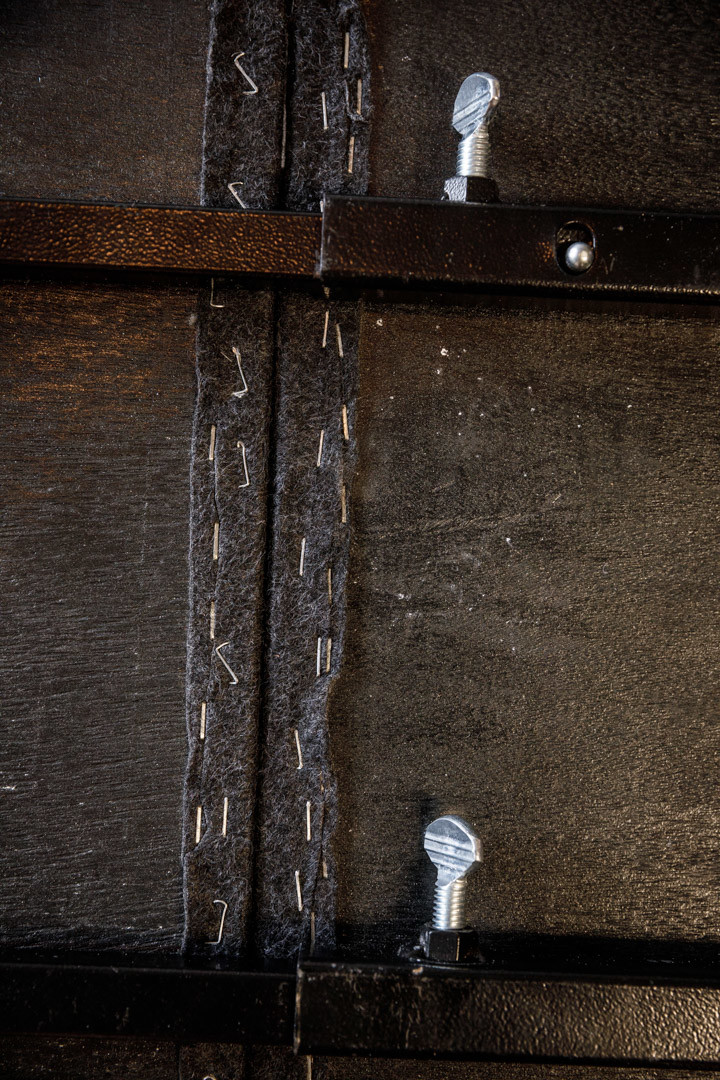
Step Eight
Using the hex key, attach the standoffs by placing the cap screws through the existing handle holes with a lock washer between the standoff and the cart handle.
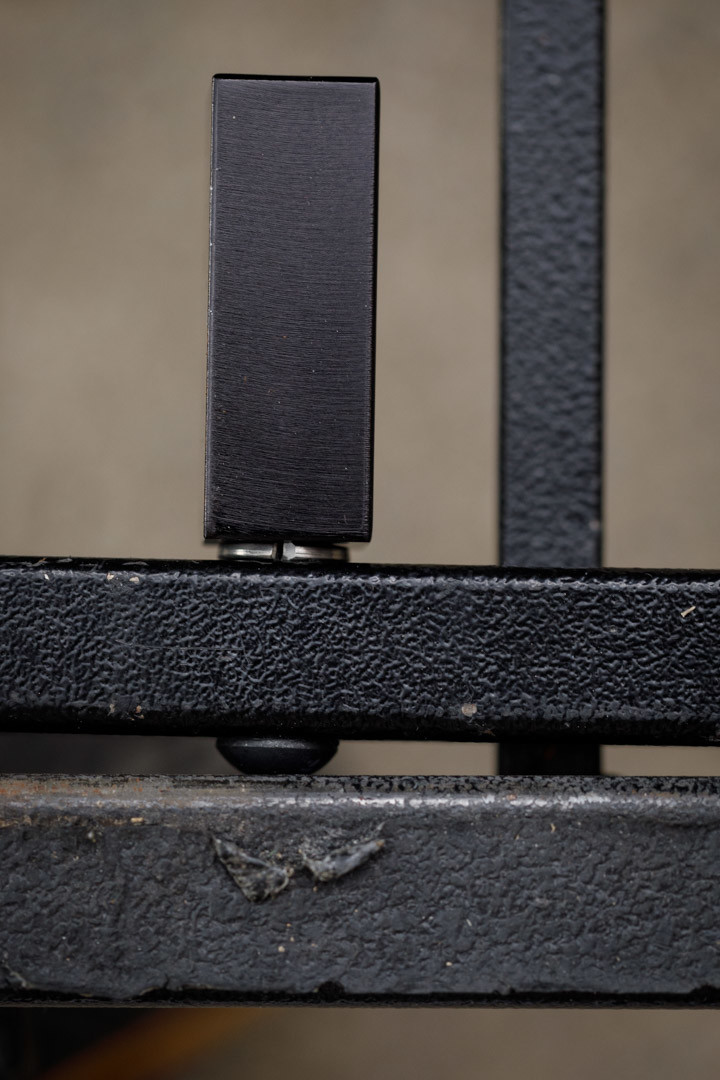
Step Nine
Place your redesigned shelf on the cart!
